Working Advice
Note: Pay attention to the wind direction when you are using the power tool outdoors.
- Firstly, carry out a spray test and adjust the spray pattern and the spray material quantity according to the spray material.
For adjustments, see the following sections. - Make sure to hold the spray gun with a uniform clearance of 20–25 cm vertical to the object being sprayed.
- Begin the spraying procedure outside the target area.
- Move the spray gun evenly horizontally or vertically according to the spray pattern configuration.
An even surface quality can be achieved when the spray paths overlap by 4–5 cm. - When spraying horizontal objects or spraying overhead, hold the spray gun at a slight angle and move back from the sprayed surface.
Risk of tripping! Be aware of potential obstacles. - Avoid interruptions when spraying the target area.
Guiding the spray gun evenly will provide uniform surface quality.
A non-uniform spraying angle and distance will lead to heavy formation of paint mist and consequently an uneven surface.
- End the spraying procedure outside the target area.
Never completely empty the container for the spray material by spraying. If the suction tube is no longer immersed in the spray material, the spray jet will be interrupted and this will result in an inconsistent surface.
- After breaks or refilling the container (7), check the nozzle cap (10)/(11)/(12) and the air cap (2) and clean them if required.
- If spray material settles on the air cap (2) or the nozzle cap, clean the components with the supplied cleaning brush (28) or a commercially available washing-up brush.
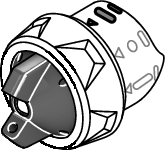
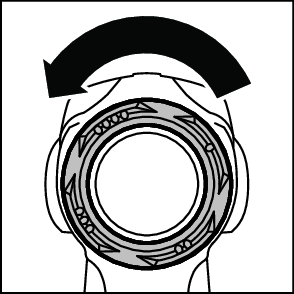
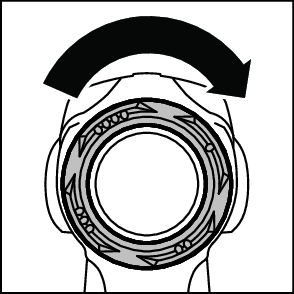
- Never actuate the trigger switch (5) while adjusting the air cap (2).
- Turn the air cap (2) to the required position.
Air cap | Spray jet pattern | Application |
|---|---|---|
|
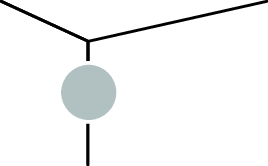
| Horizontal flat jet for vertical working direction |
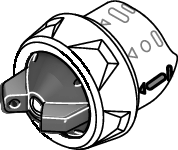
|
| Vertical flat jet for horizontal working direction |
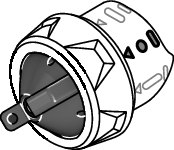
|
| Round jet for corners, edges and hard to reach locations |


(PAINTVolume)
- Turn the thumbwheel (4) to set the required spray material quantity:
Stages 1/2/3: "Wood/varnish/lacquer" application,
Stages 4/5: "Wall" application.
- Start with a spray test at setting 1 and increase the spray material volume until the required spray pattern is achieved. If a satisfactory spray pattern is not achieved, dilute the spray material in 5 % increments see Preparing the spray material.
Please note: The intensity of the paint application is highly dependent on the moving speed.
Spray material volume | Setting | |
|---|---|---|
Too much material on target area | The spray material volume must be reduced.
|
|
Not enough material on target area | The spray material volume must be increased.
|
|
(AIRVolume)
- Turn the air flow control (25) to select the appropriate application in order to set the correct air flow and pressure for the spray material used.
Start with minimum/"Wood/varnish" application
Setting the applications | ||
|---|---|---|
Thin-viscosity spray material | Thick-viscosity spray material | |
| ||
"Wood/varnish" application |
"Wood/lacquer" application |
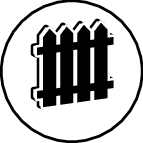
"Wall" application |
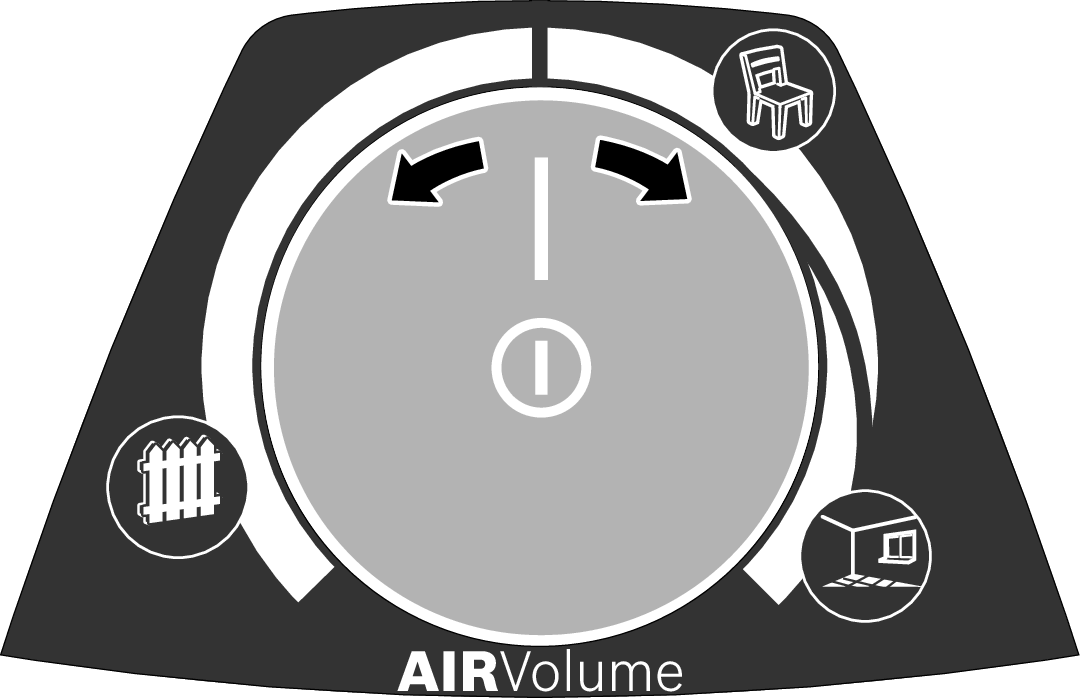
The air flow and pressure can be steplessly adjusted within an application.
Excessive paint mist:
The air flow must be reduced.
- Turn the air flow control (25) to the left.
Atomisation too coarse:
The air flow must be increased.
- Turn the air flow control (25) to the right.