Measuring functions

- Press the
 button as many times as needed for the indicator for length measurement
  to appear in the display (5).
 - Press the
 button to confirm the selection.
 - Briefly press the button to switch on the laser.
- Press the button to start the measurement.
- The measured value is displayed in the result line (d).
- Repeat the above-mentioned steps for each subsequent measurement.
By pressing the measuring button for a long time, you get to the length measurement function from all measuring functions.
If several length measurements are taken in a row, the results of the last measurements are displayed in the measured value lines (c). The last measured value is at the bottom of the display, the penultimate measured value is above it, and so on.
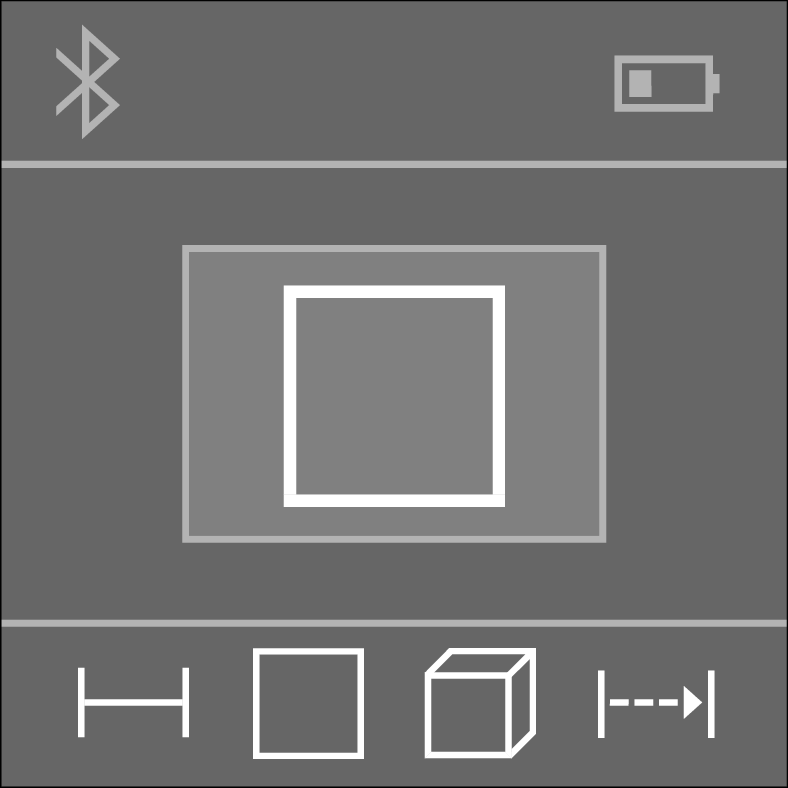
- Press the button as many times as needed for the indicator for area measurement
 to appear in the display (5).
 - Press the button to confirm the selection.
- Briefly press the button to switch on the laser.
- Press the button to start the first measurement, e.g. the length of a room.
- Press the button to start the second measurement, e.g. the width of a room.
After the second measurement has been completed, the area will be automatically calculated and displayed. The result is displayed in the result line (d). The individual measured values are in the measured value lines (c).
- Press the button as many times as needed for the indicator for volume measurement
 to appear in the display (5).
 - To confirm the selection, press the button.
- Briefly press the button to switch on the laser.
- Press the button to start the first measurement, e.g. the length of a room.
- Press the button to start the second measurement, e.g. the width of a room.
- Press the button to start the third measurement, e.g. the height of a room.
After the third measurement has been completed, the volume will be automatically calculated and displayed. The result is displayed in the result line (d). The individual measured values are in the measured value lines (c).
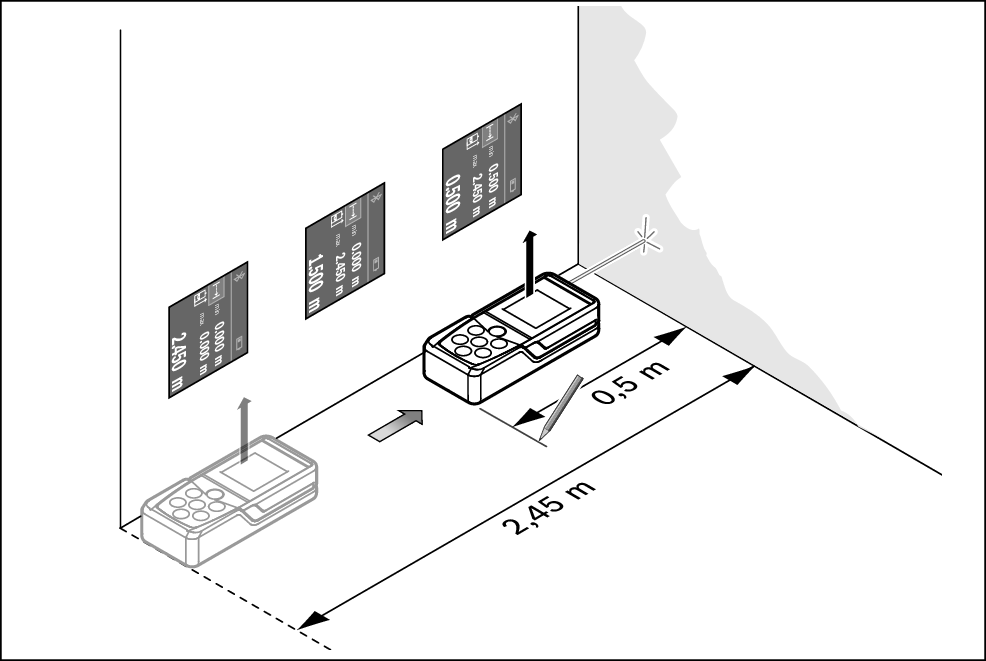
During continuous measurement, the measured value is continually updated. You can, for example, move a required distance away from a wall while reading off the current distance at all times.
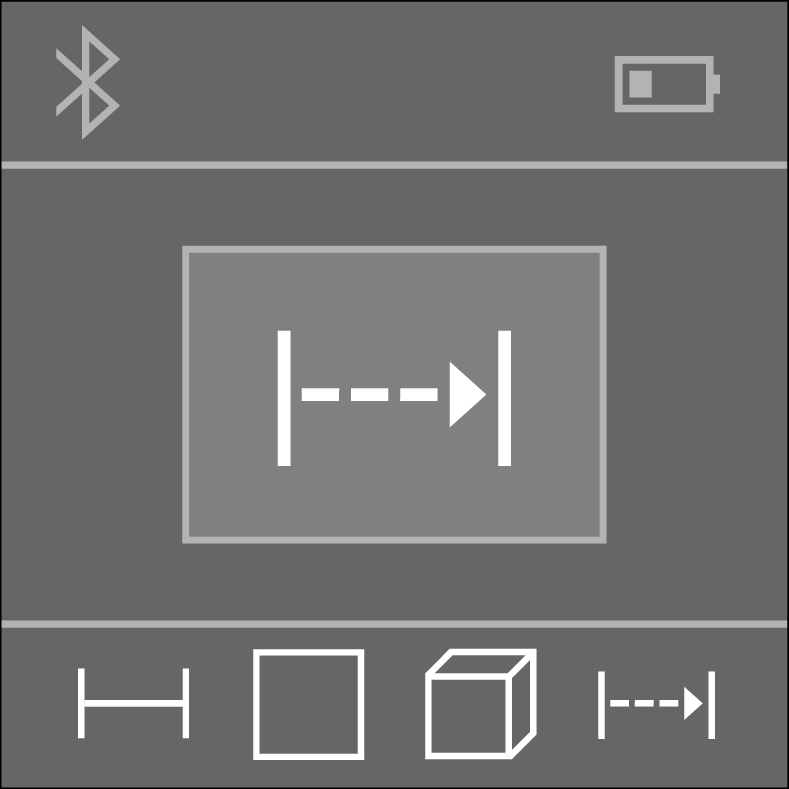
- Press the button as many times as needed for the indicator for continuous measurement
 to appear in the display (5).
 - To confirm the selection, press the button.
- Briefly press the button to switch on the laser.
- Move the measuring tool until the required distance is displayed in the result line (d).
- You can interrupt the continuous measurement by briefly pressing the button.
- Press the button again to continue the continuous measurement.
The current measured value is displayed in the result line (d), and the maximum and the minimum measured value in the measured value lines (c).
Continuous measurement switches off automatically after 4 min.